Reasons Why Crochet Curls
If you're working on a project and you're noticing
the edges start curling, it's difficult to feel confident and want to
keep chugging along. If you're asking, why is my crochet curling?, you are not alone!
It happens but determining why may not be the simplest. There are
actually quite a few reasons as to why your crocheting will curl. It
could be the nature of the yarn you are using, your hook size, or your
tension to name a few.
Below, I will go over the most common reasons your crochet corners are
curling up while you work or once you've finished a crochet piece. Once I
go over the reasons, it's time to problem-solve to get that crochet
straight.
Determine which of the solutions will solve your problem and fix your
current piece and so that you can avoid this issue for future projects!
Tension Too Tight
When your tension is too tight it will not only cause your hands to hurt and cramp up quickly, it causes issues with the project you are crocheting. You may end up using more yarn than necessary and your project will curl because the stitches are too tight and that will prevent your project from lying flat. If you continue to have issues with tension you can try to go up a hook size. This will help in giving the stitches more space to lay flat. A good way to combat this from get-go is to make a gauge swatch. A lot of crocheters will tend to skip this when following a pattern, but, if you are a crocheter who always ends up with a project that is way off the finished size it would save you a lot of time, grief and yarn.
Can You Fix A Curled Project?
All is not lost though if your project is curling once completed. You can block your project. With blocking you use water to shape your project to give it a more finished look and in doing so you can get the measurements of your finished project to match those of the pattern used.
Blocking Can Fix Your Project
To get your project wet you can give it a light mist with a spray bottle, immerse the entire thing in a tub of water or use the steam setting on your iron. There is one other method that I prefer to do though. I wash the item in my front load washer on the gentle cycle and give it an extra spin or two to ensure any extra water has been wrung out but that the item is still damp enough to block. Next, I lay the item on a flat surface (as you would do with any of the methods to get your project wet) and stretch it to my desired dimensions and let it air dry.
A Small Hook And Tight Tension
Below is a swatch that I made using medium weight
yarn. The suggested hook size for the yarn was an H/8 5.00mm, to make
sure my swatch would curl I used an F/5-3.75mm hook size and crocheted
with a tighter tension than I normally use.
After working on a few rows, my project began to curl…
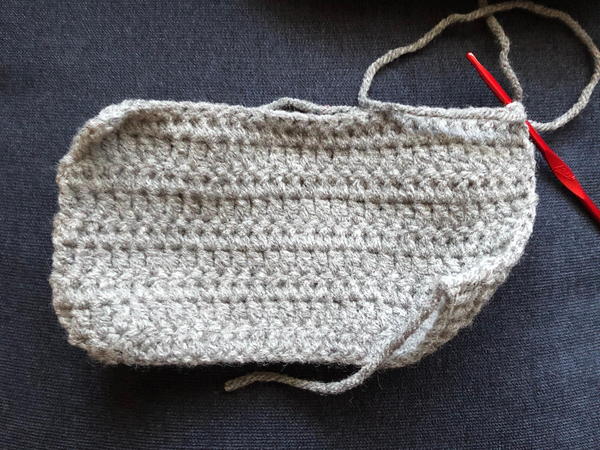
And once I completed a small rectangle you can see that it curled considerably on both ends.
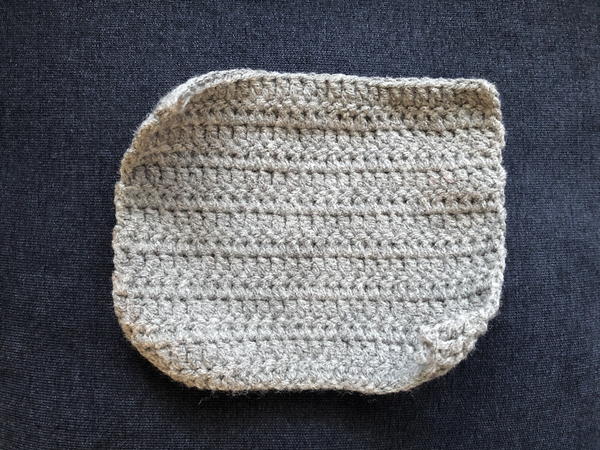
After blocking though I had a perfectly flat rectangle.
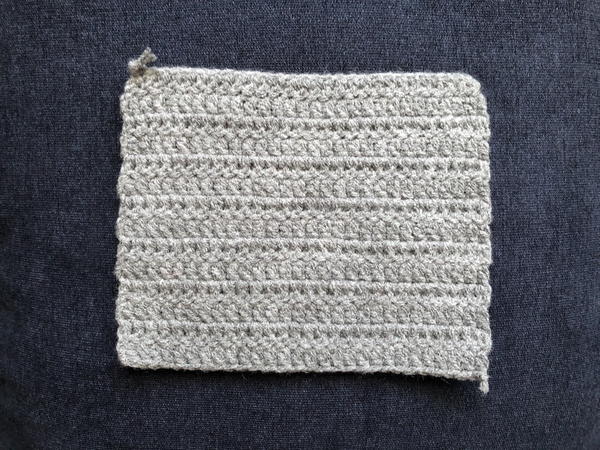
Larger Hook and Normal Tension
Alternatively, I used the suggested hook size and my
normal tension for the rectangle below, and while my rectangle did curl
slightly in the corner when I started, by the time I was done it had
flattened itself out.
That’s something to touch on as well. There are projects that may curl
in the beginning but will flatten out as you continue to work on them.
The additional rows help to straighten the item out.
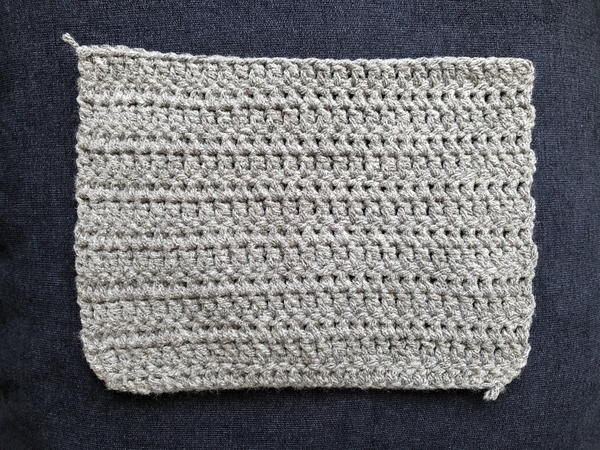
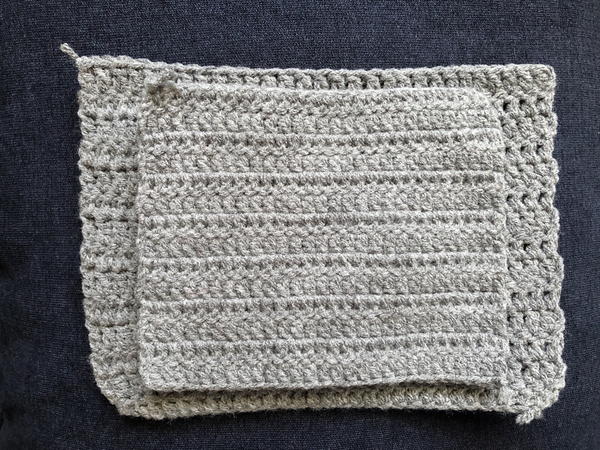
And here are the two rectangles I crocheted. I followed the same pattern for both, but, used a different hook size and tension and the result was quite different.
For my other blogs, I'm giving the links below, feel free to view and comment too.
https://cancersupportindia.
https://gseasyrecipes.
https://kneereplacement-
No comments:
Post a Comment